
A Comprehensive Guide to Installing Your Own Security Camera System
Installing a security camera system can seem daunting, but with careful planning and execution, it’s a manageable DIY project. This guide provides a step-by-step walkthrough, covering everything from choosing the right cameras to troubleshooting common issues. Whether you’re protecting your home, business, or a specific area, this guide will empower you to create a secure environment.
1. Planning Your Security Camera System
Before you purchase any equipment, careful planning is crucial. This phase involves assessing your needs and selecting the appropriate components.
1.1 Identifying Your Security Needs
- Area to be monitored: Determine the specific areas you want to cover. Consider both indoor and outdoor locations.
- Coverage area: Each camera has a limited field of view. Plan the number and placement of cameras to ensure complete coverage.
- Resolution and image quality: Higher resolution cameras provide clearer images, but also require more storage space and bandwidth.
- Night vision capabilities: Consider infrared (IR) night vision for optimal performance in low-light conditions.
- Weatherproofing: If installing outdoor cameras, ensure they are weatherproof and rated for your climate.
- Power requirements: Determine whether you’ll use wired or wireless cameras. Wired cameras offer more reliable power, while wireless cameras offer greater flexibility but may require more frequent battery changes.
- Storage and recording: Decide how you’ll store video footage. Options include cloud storage, a network video recorder (NVR), or a digital video recorder (DVR).
- Budget: Set a realistic budget that considers the cost of cameras, recording devices, power supplies, cabling, and any professional installation fees (if applicable).
1.2 Choosing the Right Security Cameras
- Wired vs. Wireless: Wired cameras offer superior reliability and security, but require running cables. Wireless cameras provide flexibility but rely on Wi-Fi for connectivity, potentially vulnerable to hacking.
- Camera type: Different camera types exist, such as bullet cameras (cylindrical), dome cameras (hemispherical), and PTZ (pan-tilt-zoom) cameras which offer remote control of viewing angles.
- Resolution (megapixels): Higher megapixel cameras capture clearer images, but also require more storage space.
- Field of view (FOV): This refers to the camera’s viewing angle. A wider FOV covers a larger area, while a narrower FOV provides more detail.
- Features: Consider additional features such as motion detection, two-way audio, and built-in microphones.
- Brand reputation: Research reputable brands known for quality and reliability.
2. Gathering Your Tools and Materials
Before you begin installation, gather all the necessary tools and materials.
- Security cameras: The number and type of cameras you chose during planning.
- Power supply: This will depend on whether you are using wired or wireless cameras. Wired cameras require power adapters, while wireless cameras may need rechargeable batteries.
- Network Video Recorder (NVR) or Digital Video Recorder (DVR): A central hub to record and manage video footage (if not using cloud storage).
- Cables (if wired): Cat5e or Cat6 Ethernet cables for wired cameras, power cables, and potentially BNC cables for analog cameras.
- Drill and drill bits: For drilling holes to mount cameras and run cables.
- Screwdrivers: Various sizes for securing cameras and mounting brackets.
- Wire strippers and crimpers: For connecting cables (if wired).
- Cable ties or zip ties: To organize and secure cables.
- Measuring tape: For accurate placement of cameras.
- Level: To ensure cameras are mounted straight.
- Network router: For connecting wireless cameras to your network.
- Mounting brackets: Appropriate for your camera type and installation location.
- Optional: Fish tape (for running cables through walls), weatherproofing sealant.
3. Installing Your Security Cameras
3.1 Planning Camera Placement
Strategic camera placement is essential for optimal coverage. Consider the following:
- Blind spots: Avoid placing cameras where they might be easily obstructed.
- Coverage areas: Ensure cameras cover all entry points and areas of interest.
- Lighting conditions: Consider natural and artificial light sources to avoid overly bright or dark areas.
- Privacy concerns: Be mindful of privacy laws and avoid capturing images of neighboring properties without their consent.
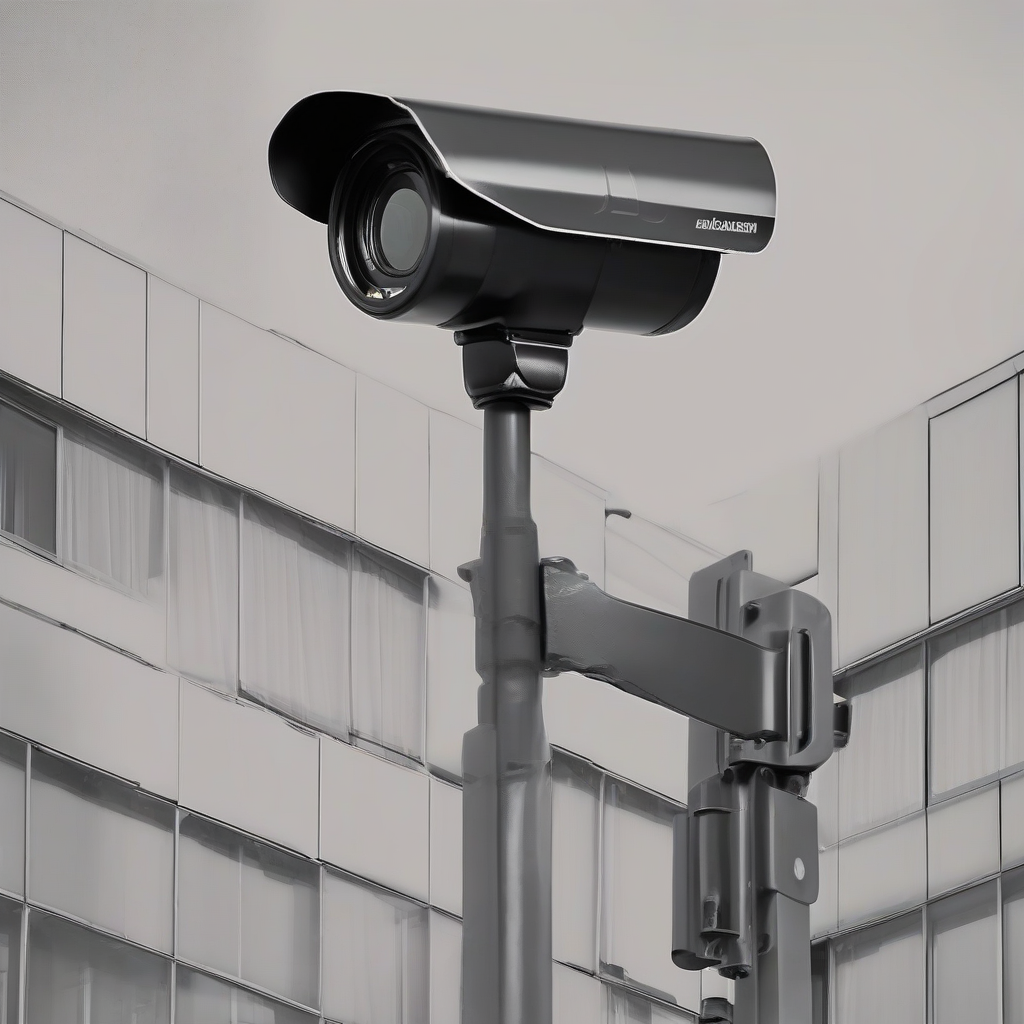
3.2 Mounting the Cameras
Mounting procedures vary depending on the camera type and chosen location.
- Indoor Mounting: Typically involves using screws to attach the camera to a wall or ceiling. Ensure the mount is secure and level.
- Outdoor Mounting: Requires weatherproof enclosures and secure mounting to withstand weather conditions. Use weatherproof sealant to protect connections from moisture.
- Running Cables (Wired Cameras): Carefully run cables through walls, ceilings, or along baseboards, using cable ties to keep them organized and secure. Consider using conduit for protection.
- Connecting to Power: Connect the power supply to the camera and ensure the connections are secure. For outdoor cameras, protect connections from the elements.
3.3 Connecting to the NVR/DVR or Cloud Service
The connection method depends on your chosen storage solution.
- NVR/DVR: Connect the cameras to the NVR/DVR using Ethernet cables. Follow the manufacturer’s instructions for configuration.
- Cloud storage: Configure your cameras to connect to your cloud service provider. This usually involves setting up an account and following the provider’s instructions.
- Network Configuration: Ensure your cameras are connected to your home network and accessible via your router. You may need to configure IP addresses and port forwarding settings.
4. Testing and Troubleshooting
After installation, it’s essential to test the system thoroughly.
- Image Quality: Check each camera’s image quality to ensure it’s clear and well-lit. Adjust settings as needed.
- Recording Functionality: Verify that the system is recording properly and check the video quality.
- Motion Detection: Test the motion detection sensitivity. Adjust the settings to avoid false alarms.
- Connectivity: Ensure all cameras are connected to the network and the NVR/DVR (if applicable) is functioning correctly.
- Remote Access: Test remote access to the system to ensure you can view the footage from anywhere.
- Troubleshooting: If you encounter issues, refer to the manufacturer’s instructions or seek assistance from online forums or technical support.
5. Security Considerations
Security is paramount when dealing with a security camera system.
- Strong Passwords: Use strong, unique passwords for all aspects of the system, including the router, NVR/DVR, and cloud accounts.
- Firewall Protection: Ensure your network is protected by a firewall to prevent unauthorized access.
- Software Updates: Regularly update the firmware of your cameras and NVR/DVR to patch security vulnerabilities.
- Data Encryption: Use encryption to protect your video footage, both in transit and at rest.
- Secure Cloud Storage: Choose a reputable cloud storage provider with robust security measures.
6. Advanced Features and Considerations
Depending on your needs and budget, explore these advanced options:
- Facial Recognition: Some cameras offer facial recognition capabilities, allowing you to identify individuals in recorded footage.
- License Plate Recognition (LPR): LPR cameras can automatically identify license plates, useful for security applications.
- Analytics: Advanced analytics features can detect specific events or activities, such as intrusion or loitering.
- Integration with Smart Home Systems: Many security cameras can integrate with smart home systems, allowing for centralized control and automation.
- Professional Monitoring: Consider a professional monitoring service that alerts authorities in case of detected events.